
Concrete deterioration is the damage that degrades a concrete or mortar element, such as cracking, reinforcement corrosion, chemical attack or loss of strength, and diagnosing it requires tests that identify the cause.
The same crack can come from shrinkage, an overload, corrosion of the reinforcement or a chemical reaction inside the material itself, and each cause calls for a different repair. That is why the diagnosis combines on-site inspection with construction material testing on cores and samples, which are what confirm which mechanism is at work.
Within the analysis and testing laboratory, concrete is studied like any other material that fails, with one hypothesis per symptom, a test that confirms or rules it out and a result that can be defended before money is spent on the repair.
CONSTRUCTION MATERIAL TESTING
Need to know why a concrete or a mortar is cracking or deteriorating before you repair it? Take a look at our construction material testing

What concrete deterioration is and why it occurs
Concrete deterioration is any process that reduces its durability, its load-bearing capacity or its appearance compared with what was designed. Some processes act from the outside, such as carbonation or chlorides, and others start inside, in the reaction between cement, aggregates and water. Telling them apart is the first step, because the visible symptom is often similar and the cause is not.
Concrete deterioration from physical and mechanical causes
Physical and mechanical causes are the easiest to recognise and, at the same time, the ones most often confused with others. Plastic and drying shrinkage produce fine, scattered cracks in the first weeks. Excessive loads or settlement produce cracks with a pattern that follows the stresses, inclined near the supports or vertical in the middle of a beam.
In thick elements, thermal cracking also appears. The heat released by the cement as it hydrates warms the core while the surface cools, and the temperature difference opens cracks in the first few days. It is common in foundation slabs, thick walls and piers, and it is prevented through the mix design and curing, not with a later repair.
Added to these are freeze and thaw cycles, which scale the surface of a porous concrete or one without entrained air, abrasion in industrial floors and fire, which dehydrates the paste and causes explosive spalling in dense concretes. The analysis of the most common pathologies in materials and how to detect them provides the general framework in which all of them fit.
Concrete deterioration from chemical causes
Chemical causes are the ones that most compromise durability, because they advance without symptoms for years. Carbonation lowers the pH of concrete, which is naturally around 12.5 or 13, and when the front reaches the reinforcement the steel loses the layer that protected it and starts to rust. Chlorides, from the sea or from de-icing salts, produce the same effect with more aggressive and localised pitting.
Other reactions attack the concrete itself. Sulphates from the ground or water form secondary ettringite and gypsum, which expand and break up the paste. The alkali-aggregate reaction produces a gel that absorbs water, swells and cracks the element in a map pattern, sometimes a decade after it was built. Leaching by soft water dissolves the lime and leaves white efflorescence on the surface.
Causes rarely act alone. Insufficient cover, poor compaction with honeycombing or curing that is too short leave a porous concrete through which carbonation, chlorides and water enter more quickly. That is why the diagnosis does not end when the aggressive agent is identified, it also explains why the material did not resist it.
Reinforcement corrosion is the concrete deterioration mechanism that compromises the most structures, and the one that shows up last. By the time the rust stain or the spall appears, the carbonation or chloride front has been reaching the steel for some time.
How concrete damage is diagnosed on site
On-site diagnosis consists of describing the damage precisely, measuring what can be measured without destroying anything and deciding where samples will be taken for the laboratory. A good inspection visit saves useless cores and concentrates the tests in the areas that will answer the question.
Visual inspection and damage mapping
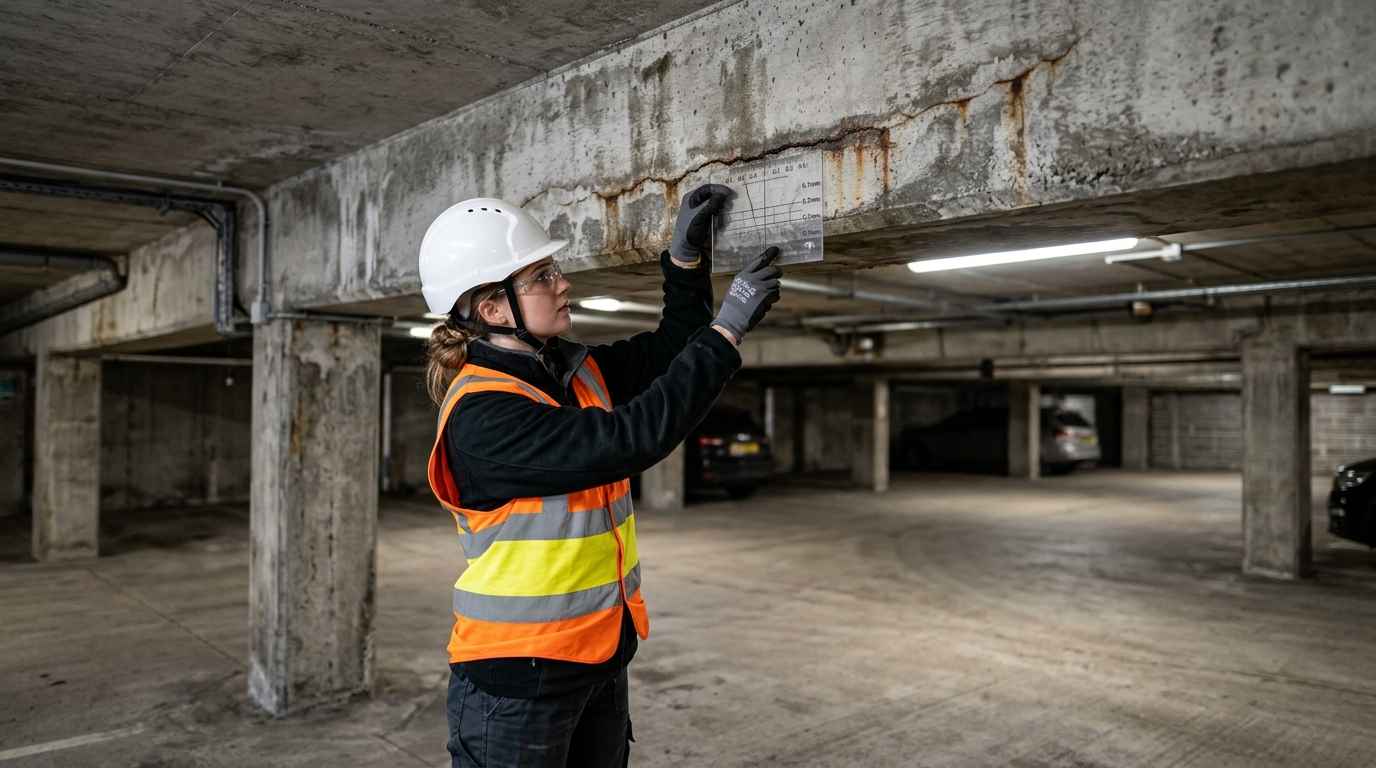
The visual inspection records the type of crack, its width with a crack gauge, its orientation and its relationship with the reinforcement, together with rust stains, efflorescence, damp patches and spalling. Everything is transferred to a damage map on the drawings, which reveals patterns that go unnoticed during the visit, such as cracks that coincide with the position of the stirrups or damage concentrated in the areas most exposed to rain.
The documentation of the structure carries as much weight as the visit. The construction date, the mix design and type of cement, the environment each element is exposed to and the history of repairs rule out hypotheses before a single core is taken. Map cracking in a two-year-old concrete does not point to the same thing as in one built twenty years ago.
If the crack may be active, tell-tales or gauges are installed to follow its evolution over weeks. A stable crack can be sealed, while one that keeps opening points to settlement, an overload or an expansive reaction that has not yet finished.
Non-destructive testing of concrete on site
Non-destructive tests on site measure the uniformity of the material and the condition of the reinforcement without opening the element. The rebound hammer gives a rebound number that reflects surface hardness, and ultrasonic pulse velocity detects areas with voids or internal cracking. Neither gives the strength on its own, both need to be correlated with cores from the same concrete.
The covermeter locates the bars and measures the cover, and the corrosion potential map, described in ASTM C876, shows in which areas the reinforcement is most likely to be corroding. It is a measurement from the family of electrochemical tests that guides where to open up, although it does not measure the rate at which corrosion is progressing.
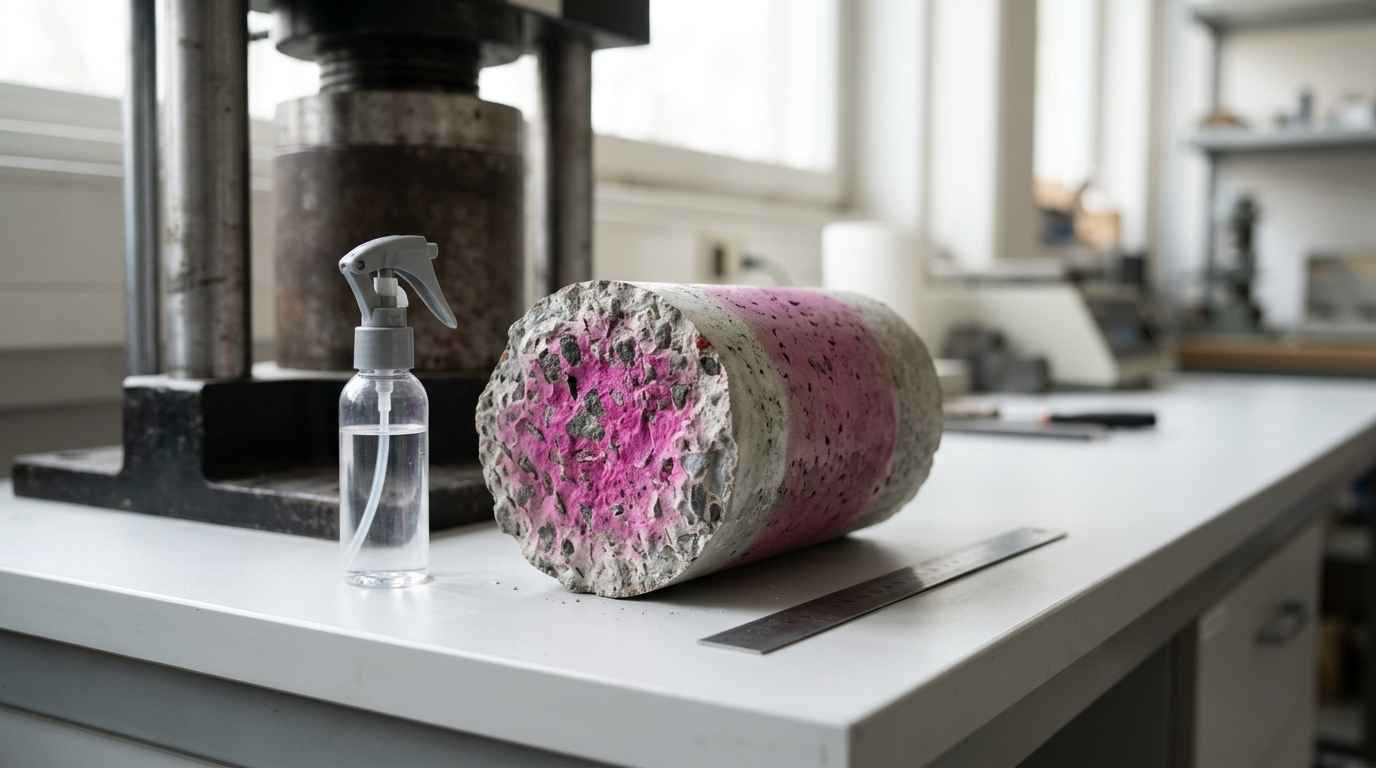
Carbonation depth is checked by spraying phenolphthalein on a freshly broken surface, according to EN 14630. The sound area turns pink and the carbonated area stays colourless. Comparing that depth with the measured cover tells you whether the front has already reached the steel.
Infrared thermography completes the visit on facades and soffits, because delaminated or damp areas heat up and cool down at a different rate from sound material. The table summarises which test confirms each type of damage and whether that confirmation is obtained on site or requires samples to be taken to the laboratory.
| Damage | Symptom on site | Test that confirms it | Where it is done |
|---|---|---|---|
| Corrosion due to carbonation | Cracks parallel to the reinforcement and rust stains | Carbonation depth and cover | On site |
| Corrosion due to chlorides | Pitting, rust and spalling in marine environments | Chloride profile by layers | Laboratory |
| Sulphate attack | Expansion, cracking and disintegration of the paste | X-ray diffraction and sulphate content | Laboratory |
| Alkali-aggregate reaction | Map cracking and gel exudation | Optical or electron microscopy | Laboratory |
| Low strength | Low rebound hammer and ultrasonic readings | Compression testing of cores | Laboratory |
| Cracking due to shrinkage or loads | Crack pattern according to age or stresses | Crack map and monitoring of crack opening | On site |
TELL US ABOUT YOUR CASE
Do you have cracks, rust stains or spalling on a structure and no idea whether the damage is cosmetic or structural? Send us photos, the age of the structure and the environment it is exposed to and we will propose the test plan
Laboratory tests on concrete cores and samples
The laboratory confirms what the site suggests. The cores and powder samples taken at the chosen points allow the actual strength, the chemical composition and the reaction products that explain the damage to be measured, with a precision that no field test achieves.
Concrete cores, compressive strength and density
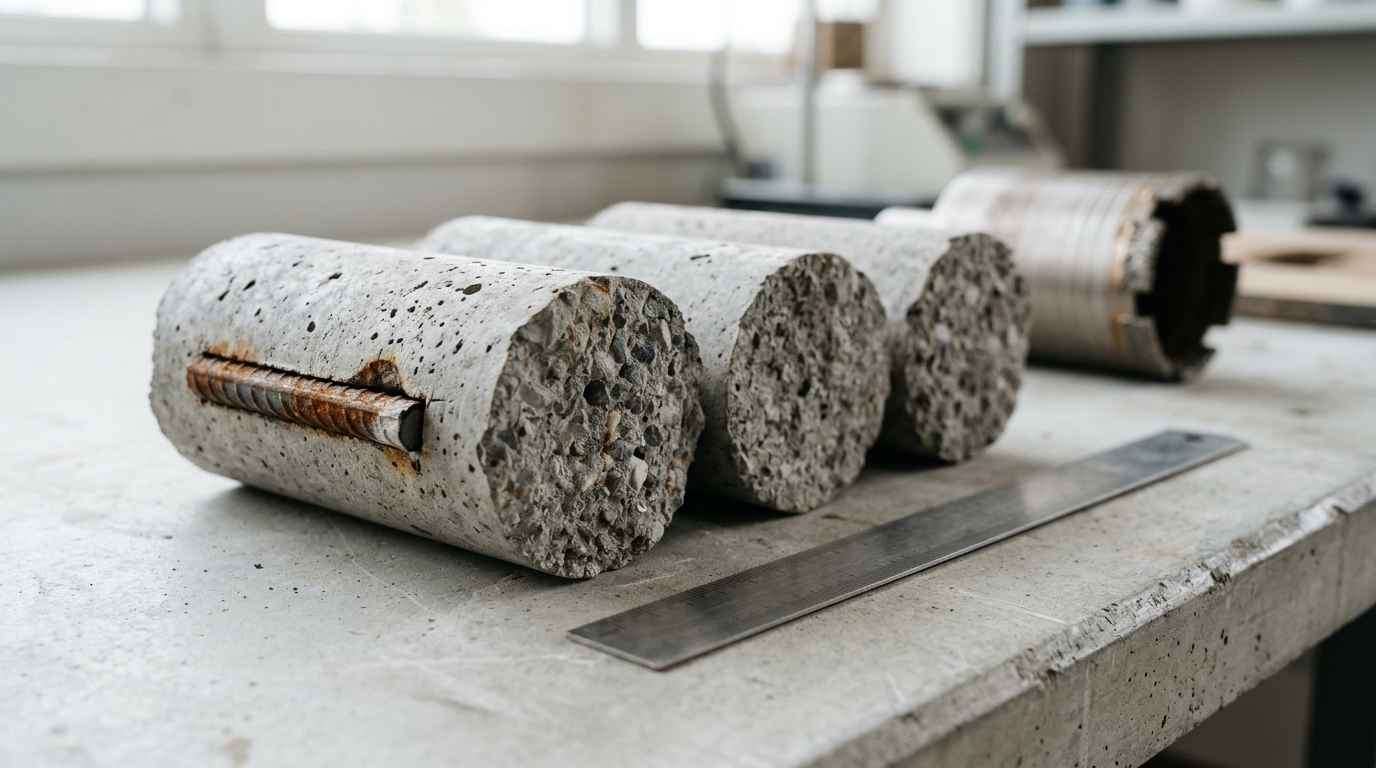
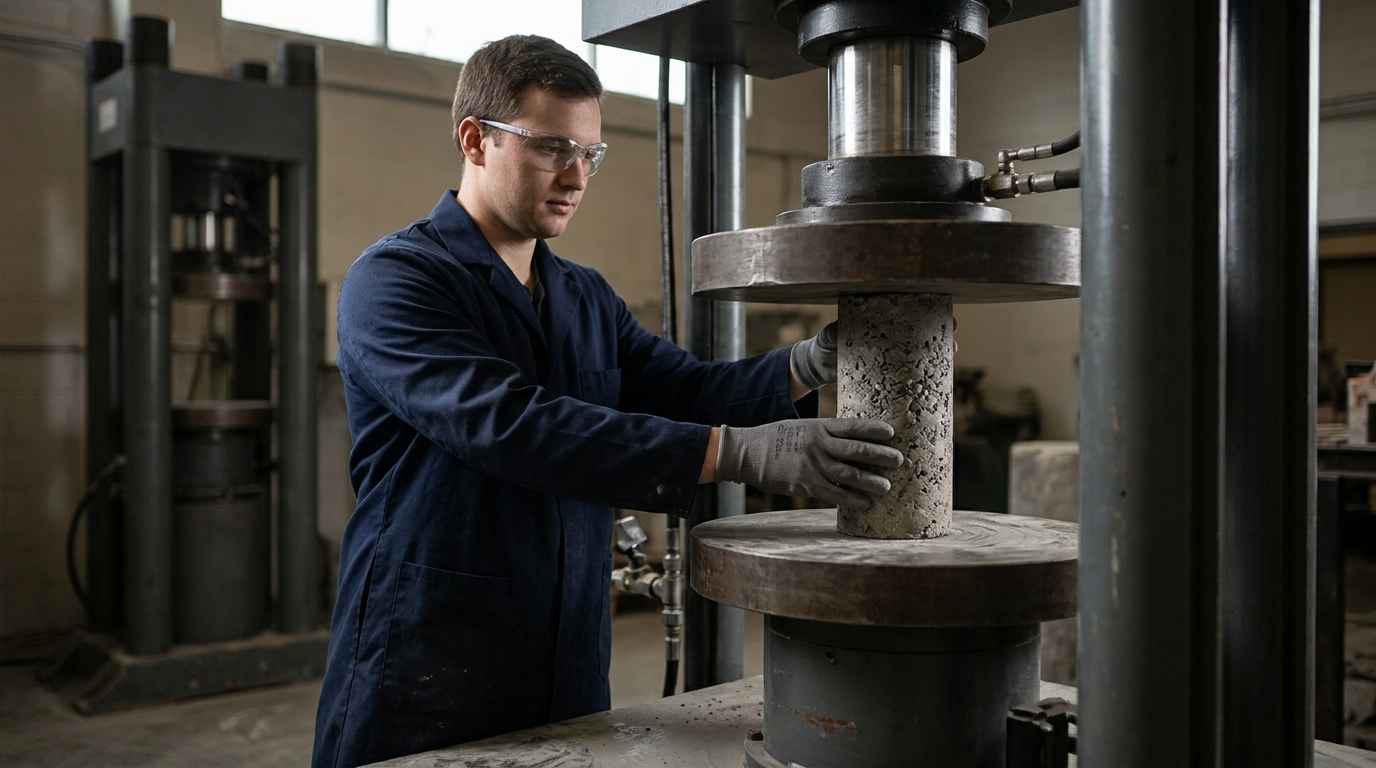
Taking, examining and compression testing cores is governed by EN 12504-1. The core is cut, capped and broken in a universal testing machine, and its result is the reference against which the rebound hammer and ultrasonic readings of the whole structure are calibrated. It is worth examining the core before breaking it, because voids, the distribution of the aggregate or a cold joint already tell part of the story.
Where each core is taken decides what can be concluded. The bars are located beforehand with the covermeter so as not to cut them, samples are taken in damaged and in sound areas of the same element for comparison, and extraction is avoided at points where the hole would weaken a section that is already working at its limit.
An example of a diagnosis that starts on site and ends in the material is the failure analysis of the widespread breakage of concrete counterweights, where the on-site inspection and the subsequent tests traced the cause to the lack of bond between the aggregate grains and the binder, a manufacturing defect that was corrected in the process.
Chlorides, sulphates and reaction products in concrete
Chlorides are measured by layers, with powder samples taken at increasing depths, to plot a profile that shows how far they have penetrated and whether, at the reinforcement, they exceed the threshold accepted for reinforced concrete, of the order of 0.4% by weight of cement. The profile also makes it possible to estimate how long they will take to reach the bars they have not yet reached.
For sulphate attack and the alkali-aggregate reaction, the minerals that have formed must be identified. X-ray diffraction detects ettringite, gypsum or thaumasite, and microscopy, optical or scanning electron, locates the alkali-aggregate reaction gel at the edges of the aggregate and in the cracks. Without that confirmation, map cracking may be attributed to the wrong cause.
Porosity and water absorption complete the picture. A concrete with high accessible porosity lets aggressive agents through more easily, and measuring it in the cores explains why one area has deteriorated and another in the same element has not, and helps decide whether protecting the surface is enough or the material has to be replaced.
Map cracking is not a diagnosis, it is a symptom shared by the alkali-aggregate reaction, sulphate attack and shrinkage. Only the mineralogical analysis of a sample tells you which of the three is at work.
Mortars and renders, their own damage and its diagnosis
Renders, jointing mortars and repair mortars suffer the same attacks as concrete, but their small thickness and their bond with the substrate add damage of their own. The diagnosis focuses on adhesion, on compatibility with the substrate and on the salts that moisture carries.
Detachment and loss of adhesion in mortars
A mortar that comes away usually does so because of an incompatibility with the substrate, insufficient surface preparation or a mortar that is too stiff on a base that moves. The direct tension pull-off test measures adhesion at several points and, more usefully, shows where the failure occurs, in the mortar, at the interface or in the substrate.
With repair mortars on chloride-contaminated concrete a typical case appears. The repaired area is protected, but corrosion accelerates at the edge, in the contaminated concrete around it, which is known as the incipient anode effect. The repair seems to fail when in fact the diagnosis did not establish how far the chlorides extended.
Damp, efflorescence and salts in mortars and concrete
Efflorescence consists of salts that water carries from the interior and that crystallise on the surface as it evaporates. When they crystallise below the surface, cryptoflorescence pushes and detaches the render. Identifying the salt, by diffraction or chemical analysis, indicates its origin, because sulphates, carbonates and chlorides come from different sources and are dealt with differently.
The origin of the water is the other half of the diagnosis. Rising damp comes up from the ground and leaves a band of salts at a constant height, condensation appears in the cold areas of the interior and leaks follow the defects in the waterproofing. Each one is corrected with a different intervention, and confusing them makes the repair of the render useless.
Protection and repair, validating the system before applying it
Choosing the repair mortar, the inhibitor or the protective coating is also a testing decision. Comparing systems on specimens of the same substrate, under conditions that reproduce the real environment, follows the same logic as the evaluation of coatings to protect steel against corrosion, where several solutions were tested in parallel before choosing the one that would be applied.
Repairing without a diagnosis treats the symptom and leaves the cause. A repair mortar placed on chloride-contaminated concrete can accelerate corrosion right around it, and the damage reappears a few years later at the edge of the patch.
From symptom to cause before repairing the concrete
Concrete deterioration is diagnosed in two stages. On site, the damage is described, what can be measured without destroying is measured and the sampling points are chosen. In the laboratory, cores and samples confirm the strength, the depth of the aggressive agents and the reaction products. Neither stage replaces the other.
What most determines the result is setting one hypothesis per symptom and choosing the test that can rule it out, instead of ordering a full battery of tests without a question. With that discipline, the repair is designed against the cause and not against the crack you can see.
If you have a structure with cracks, rust or spalling, gather photos of the damage, the drawings if you have them, the age of the structure and the environment it is exposed to. With that, the tests to be done on site, where cores and samples are taken and what is analysed in the laboratory are defined, and you receive a diagnostic plan with the question each test answers before committing to the repair.
Frequently asked questions about concrete deterioration
What are the most common types of concrete deterioration?
The most common are reinforcement corrosion, due to carbonation or chlorides, cracking due to shrinkage or loads, sulphate attack, the alkali-aggregate reaction and freeze-thaw damage. Reinforcement corrosion is the one that most compromises durability, because it progresses without visible symptoms until the rust cracks and detaches the cover.
Which tests are used to diagnose concrete deterioration?
On site, visual inspection with a crack map, the rebound hammer, ultrasonic testing, the covermeter, the corrosion potential map and carbonation depth with phenolphthalein. In the laboratory, compression testing of cores, the chloride profile and crystallographic testing by X-ray diffraction, which identifies the products of sulphate attack or the alkali-aggregate reaction.
What factors determine the cost of diagnosing concrete deterioration?
The cost is determined by the size of and access to the structure, the number of cores and samples and the laboratory tests the hypothesis requires. An inspection with non-destructive tests and a few cores costs much less than a study with chloride profiles, diffraction and microscopy. To narrow it down, send photos and drawings before the visit is planned.
What risk do you take if you repair concrete without diagnosing the cause?
You risk the damage reappearing and the repair making it worse. A mortar placed on concrete with chlorides can accelerate corrosion at the edge of the patch, and a crack sealed over an active expansive reaction opens again. Before choosing the system it is worth checking with adhesion tests that the repair mortar bonds properly to the real substrate.
How long does a concrete deterioration diagnosis take?
Typical lead times range from one to four weeks, depending on the size of the structure, the number of samples and the laboratory tests required. For specific laboratory results there is an urgent 24 to 72 hour option, useful when you have to decide quickly whether to prop an element or restrict its use.