
Product design methodology is the ordered set of phases that takes an idea from the initial brief to a validated concept and, after that, to a manufacturable product, making the right decisions at each stage with the information available. It is not bureaucracy: it is what stops you reaching production with a design that does not solve the problem or that cannot be made.
Designing without a method works while the product is simple, but as soon as several conflicting requirements come in (cost, performance, lead time, manufacturing) the decisions taken on intuition are paid for dearly later on. A methodology orders those decisions and backs them with evidence, something typical of a well-planned product development, where each phase reduces a specific uncertainty before moving on to the next.
The point where a methodology proves its worth is the proof of concept, the moment when you check with data whether the idea really works before investing in detailed design. Anticipating a failure there costs little; discovering it in production costs the whole project.
PROOF OF CONCEPT
Do you have a product concept to validate before designing it in detail? Discover our proof of concept service

What product design methodology means
Product design methodology is the structured way of turning a need into a manufacturable product, advancing through phases in which each decision is made with the right evidence and documented for the next ones. Its goal is not to follow a ritual, but to reduce the project’s risk in stages, leaving the expensive decisions for when it has already been confirmed that the path is viable.
A good product design methodology does not try to get it right first time, but to fail early and cheaply: to discover on paper or in a mock-up what, discovered in production, would ruin the project.
What product design methodology covers
The methodology covers the whole journey, from defining the problem to preparing for manufacture: the brief and requirements, ideation and concept selection, the proof of concept that validates feasibility, detailed design and, finally, preparation for industrialisation. Each phase has a question to answer and a deliverable that closes it, so the project advances on firm decisions and not on assumptions.
What matters is not the number of phases or their names, but that no serious uncertainty passes to the next stage unresolved. Skipping the validation of a concept to save time usually turns out expensive: the time saved at the start multiplies into redesigns when the problem appears with the mould already made.
A methodology does not have to be heavy. It adapts to the size and risk of the project: a simple product can go through the same phases in a matter of days, whereas a complex one spends weeks on each. What does not change is the order of the questions or the discipline of not advancing with a critical uncertainty unresolved, because that is precisely the mechanism that protects the project.
Why a methodology reduces project risk
A methodology reduces risk because it orders decisions by cost and by reversibility: first the cheap ones that are easy to change, then the expensive ones that are hard to undo. Defining requirements well takes a few hours; remaking tooling takes weeks and money. By placing each decision in its phase, the project invests in proportion to what it has already confirmed.
In addition, working in phases with clear deliverables makes it possible to stop in time. If the proof of concept shows that the idea is not viable, it is dropped having spent little, instead of dragging a doomed design to the end. That ability to decide to continue or stop with criteria is, in practice, the biggest saving a methodology delivers.
That same order makes teamwork easier. When each phase has a question and a deliverable, engineering, manufacturing and the client share the same picture of the project’s status and of what remains to be decided. The methodology stops being a document and becomes the common language that prevents each party from moving in a different direction and misunderstandings from surfacing when it is already too late.
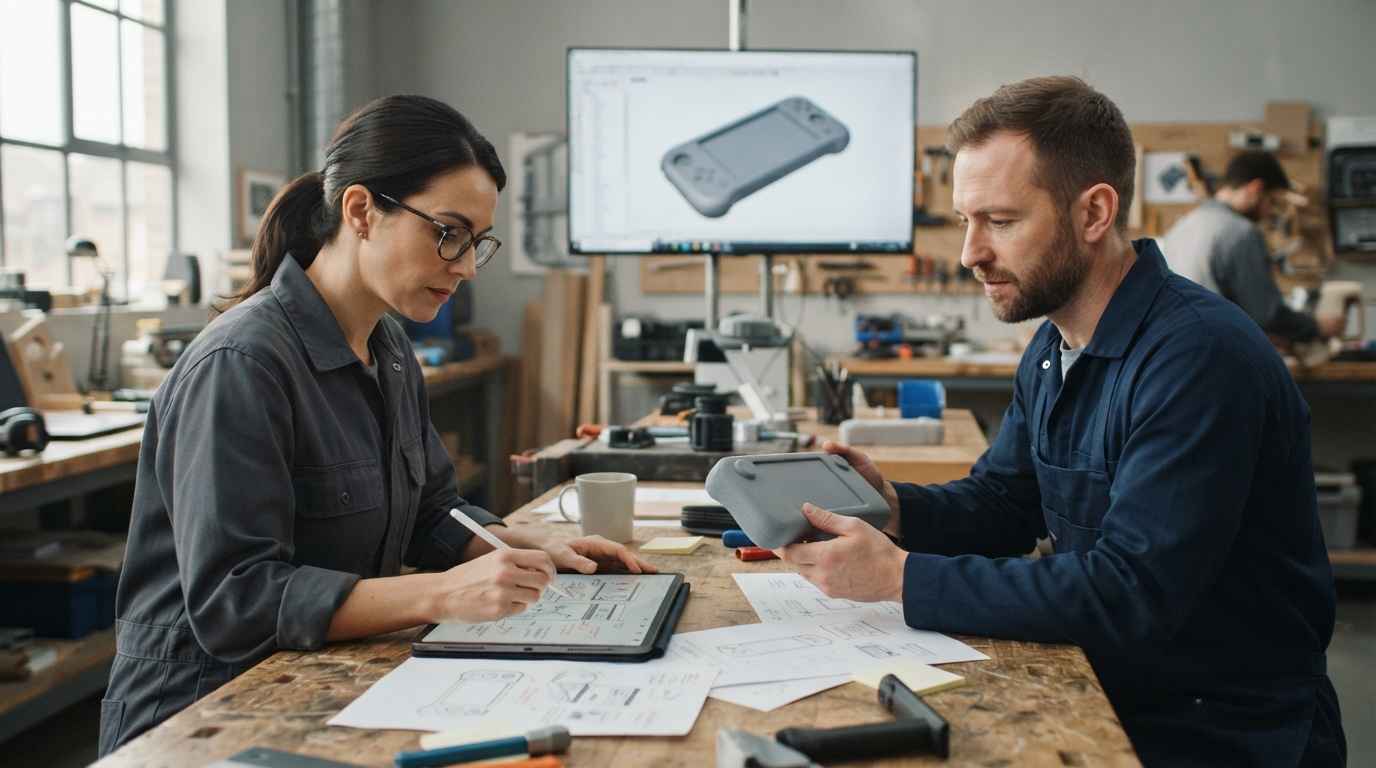
From the brief to the concept: the design phases
The stretch from the brief to the concept is the one that most shapes the outcome, because it is where you decide what will be done and how. A mistake here is not corrected with good detailed design: it is dragged to the end. That is why the methodology puts effort into defining well before drawing anything.
From the brief to the requirements
The brief is the initial request, almost always incomplete and mixed with solutions already imagined. The first task of the methodology is to translate it into requirements: what the product must do, under what conditions, with what limits of cost, size, weight or regulation, and how compliance will be measured. A well-written requirement is verifiable; a vague intention is not, and everything that cannot be checked will end up being argued about at the end of the project.
Separating the problem from the solution is key in this phase. The client often asks for “an aluminium part”, when what they need is “something that withstands this load at this cost”. Reframing the request in terms of function and not of solution opens up the range of possible concepts and avoids closing the design before it has even begun.
From ideation to the concept
With clear requirements comes ideation: generating several ways to solve the problem instead of marrying the first one. The more reasonable alternatives are put on the table, the higher the probability that the chosen one is good. Here the methodology does not reward quantity for its own sake, but variety, because similar concepts share the same weak points.
Concept selection is done by comparing each alternative against the requirements, not against the taste of whoever decides. Crossing performance, cost, risk and ease of manufacturing in an ordered comparison turns a subjective decision into a defensible choice. The result of this phase is a selected concept, still unvalidated, ready to undergo the proof of concept.
A typical risk in this phase is anchoring: sticking with the first idea because time has already been spent drawing it. The methodology counters it by forcing several alternatives to be assessed with the same criteria, so that the winning concept wins on its merits and not for having arrived first. Documenting why the others were dropped also protects the project from repeating the same debate later, when someone proposes a path already studied.
| Phase | What is decided | Deliverable | Risk it reduces |
|---|---|---|---|
| Brief and requirements | What problem it solves and within what limits | Requirements specification | Designing the wrong product |
| Ideation and concept | How it is solved, among several routes | Selected concept | Choosing an unviable solution |
| Proof of concept | Whether the idea really works | Evidence of feasibility | Investing in something that does not work |
| Detailed design | How it is manufactured and assembled | Manufacturable design | Surprises in production |

The proof of concept in product design
The proof of concept is the phase that separates a good idea from an idea that also works. Its role in the methodology is easy to state and hard to skip without consequences: to check, with the minimum sufficient evidence, that the chosen concept solves the problem before spending on designing it in detail.
What a proof of concept validates
A proof of concept validates the project’s critical hypothesis, that is, the thing that, if not met, would make everything else useless. It does not aim to validate the whole product, but the point on which its feasibility hinges: that a mechanism works, that a material holds, that a physical principle delivers the expected performance. Focusing it on that hypothesis is what makes it fast and cheap.
For the test to be conclusive, the success criterion is set before running it: what will be measured, with what method and what value is considered acceptable. Without that prior criterion, it is easy to read an ambiguous result as a pass and carry on with an unresolved doubt. Defining the threshold in advance turns the test into a decision and not an impression, and avoids arguments about whether the result “counts” once it is known.
The deliverable of this phase is evidence, not an opinion: a mock-up that moves, a test that gives a figure, a model that confirms a behaviour. A clear case is the bioinspired design taken to a functional prototype, where the concept was only accepted once the prototype demonstrated in practice what the idea promised on paper.
From the proof of concept to the prototype
Once the proof of concept is passed, the project earns the right to invest more. This is where validation broadens from the isolated principle to the product that starts to resemble the real one, with increasingly representative prototypes. The difference between concept and prototype is one of scope: the first checks that the idea works; the second, that the complete product works, something worth delimiting well, as explained in the analysis of what a functional prototype does and does not validate.
In this transition, backing decisions with simulation avoids making prototypes that are already known to fail. Knowing when calculation is enough and when a physical test is needed is part of the methodology, as shown by the criterion for deciding between FEM simulation and physical testing, which saves time and cost by reserving each tool for what it does best.
TELL US ABOUT YOUR CASE
Do you have a product idea to take from the brief to the concept? Send us your project and we will propose a methodology and a proof of concept
From the methodology to a manufacturable product
A validated concept is still not a product: it has to be turned into something that can be made repeatably and profitably. The last part of the methodology translates the confirmed idea into a detailed design ready for production, closing the decisions that until now had been deliberately left open.
From the validated concept to detailed design
Detailed design defines everything the proof of concept did not need to resolve: dimensions and tolerances, final materials, joints, finishes and off-the-shelf components. It is the phase with the most hours of work, but also the one with the lowest risk if the previous ones were done well, because it starts from a concept already known to be viable. A complete example of this journey is the development of an electronic product, where the methodology chains requirements, concept and detailed design up to a product ready to manufacture.
In this phase, every decision must already look towards the factory. Choosing a material or a geometry without thinking about how it will be produced is the most common cause of last-minute redesigns, when the supplier warns that the part, as drawn, cannot be made at a reasonable cost.
Design for manufacturing and industrialisation
Designing for manufacturing means adapting the product to the process that will produce it, so that it is easy to make, assemble and check. Reducing the number of parts, avoiding delicate operations and unnecessary tolerances, and easing assembly are decisions that make the product cheaper without taking away performance. The methodology reserves these improvements for the end, when the concept is already fixed and optimising manufacturing does not force the design to be redone.
A product’s cost is largely decided in the design, long before negotiating with suppliers. Every part, every tight tolerance and every special operation added on the board is locked into the price of each unit produced. That is why the methodology builds the manufacturing criterion in from the concept, and not as a final adjustment when there is little room left to change anything without delaying the launch.
Industrialisation closes the cycle: first runs, process tuning and quality control that confirms that what was designed is manufactured stably. This is where a well-followed methodology shows, because it reaches production with few surprises and with a design that already considered how it would be made well in advance.
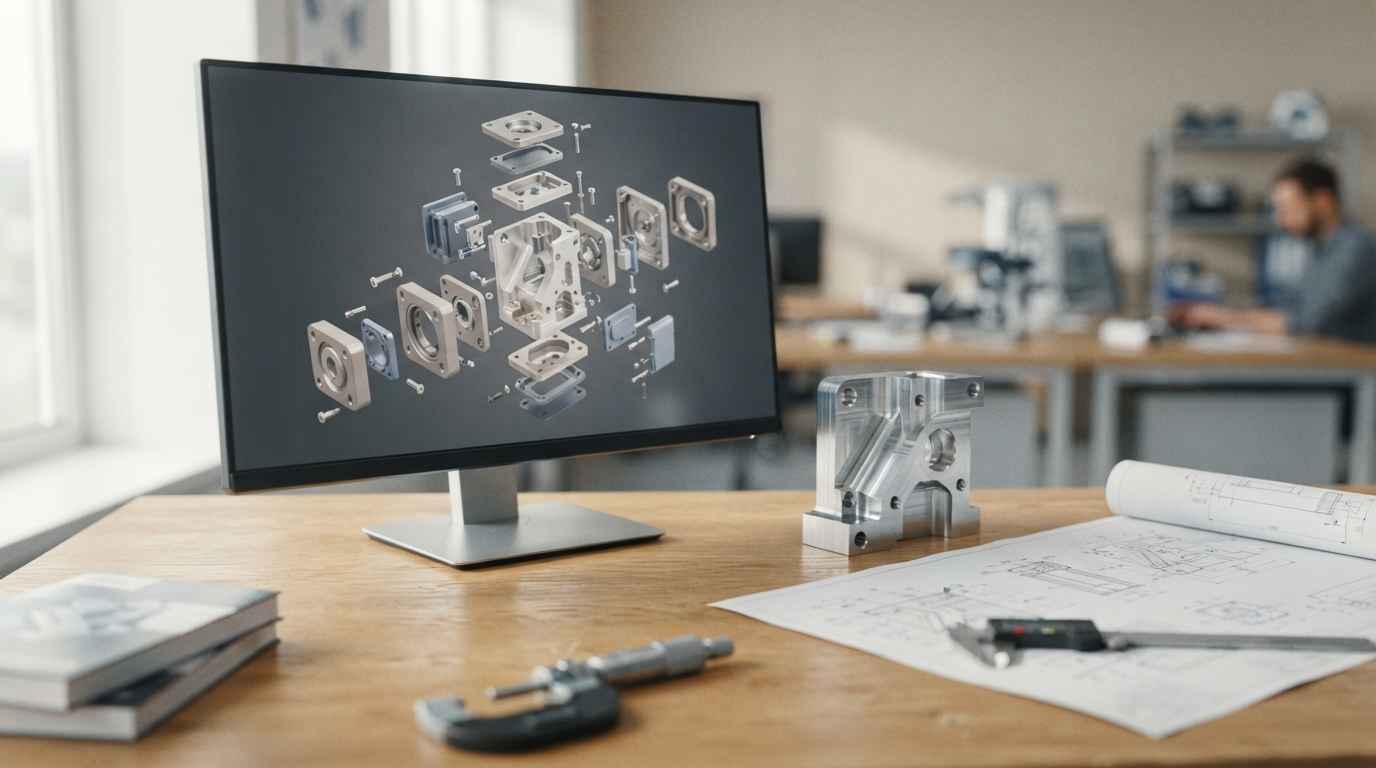
A methodology turns an idea into a reliable product
Product design methodology does not slow projects down: it orders them so that the expensive decisions are only taken when the evidence backs them. From the brief to the requirements, from ideation to the concept, from the proof of concept to detailed design and from there to the factory, each phase reduces a specific uncertainty and leaves the project ready to advance or to stop in time. The difference between a product that reaches production smoothly and one that chains redesigns usually lies in whether there was method or improvisation.
If you have a product idea and want to take it from the brief to the concept with criteria, gather the problem you want to solve, the requirements and the constraints, and send them over: we return a methodology proposal and a proof of concept to validate feasibility before investing in detailed design.
Frequently asked questions
What is product design methodology?
It is the structured way of turning a need into a manufacturable product, advancing through phases (brief and requirements, ideation and concept, proof of concept, detailed design and industrialisation) in which each decision is made with the right evidence. Its goal is to reduce the project’s risk in stages, leaving the expensive decisions for when it has already been confirmed that the path is viable.
What are the phases of product design methodology?
The usual phases are the brief and requirements definition, ideation and concept selection, the proof of concept that validates feasibility, detailed design and preparation for industrialisation. What matters is not the exact number of phases, but that no serious uncertainty passes to the next one unresolved, so as not to drag a problem all the way to production.
What is a proof of concept for?
It is used to check, with the minimum sufficient evidence, that the chosen concept really solves the problem before investing in detailed design. It validates the project’s critical hypothesis (that a mechanism works, that a material holds) and delivers evidence, not an opinion. Anticipating a failure there costs little; discovering it in production can cost the whole project.
How does a proof of concept differ from a prototype?
The difference is one of scope. The proof of concept checks that the idea works at its critical point, quickly and cheaply. The prototype checks that the complete product works, with a higher level of representativeness. In the methodology, the proof of concept comes first and conditions whether it makes sense to invest in more elaborate prototypes.
Why follow a methodology if the product is simple?
Because even in simple products there are conflicting requirements (cost, performance, manufacturing) and decisions taken on intuition are paid for later. A light methodology, adapted to the size of the project, orders those decisions and backs them with evidence, avoiding last-minute redesigns. The effort scales with the risk: the simpler the product, the lighter the methodology.